


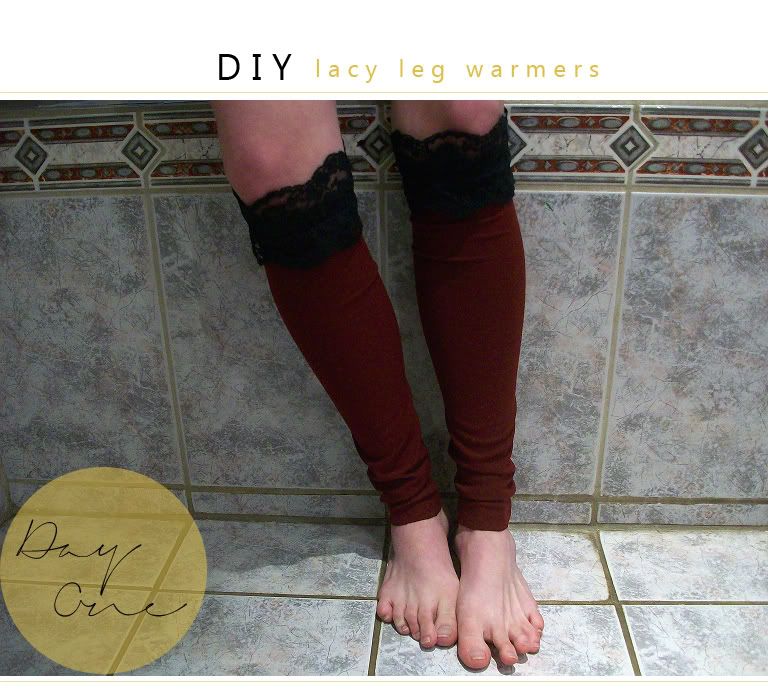
Welcome to Day One of the DIY Week celebrating Earth Day! (If you haven't been introduced to this mini-series. Please, click here to read about it.) This first project has already won a special place in my list of favorite projects I've ever made. These Lacy Leg Warmers took me about 1 hour to create including a couple mess-ups, do-overs, and taking a lot of photographs of the process, but the final result is just awesome! (This project reminded me of designing/making my Harem Pants last year.) I hope you enjoy!
-Skills. The sewing skills required for this project are pretty minimal; hemming, sewing lace, sewing stretch fabric.
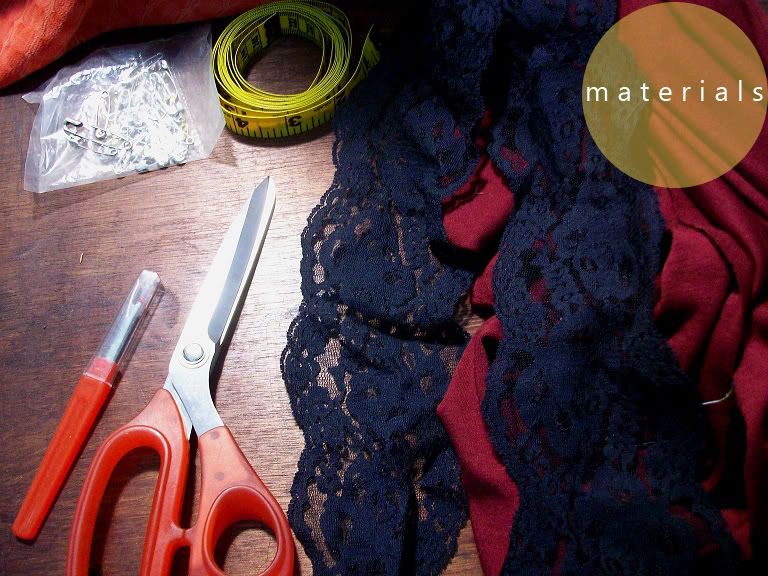
-Lace. I'm using a 2in. Wide Scalloped Black Floral Lace.
-Stretch Fabric. In my scraps, I found a large chunk of burgundy stretch fabric leftover from making my Harem Pants. You don't need much fabric to create leg warmers. (Unfortunately, I didn't write down the size of my fabric pieces. I think I used pieces about 14" long and 8" wide, or something close to that.)
-Fabric Scissors.
-Sewing Pins.
-Sewing Machine.
-Tape Measure Ruler & Fixed Ruler. (Not completely necessary, but very helpful)
-Leg Size Measurements. Below the knee; circumference. Knee to ankle; length.
-Other basic sewing supplies. Threads, needles, working area, seam-ripper, and anything else you might need.

First, analyze the stretch fabric. Look for any holes or tears as those will most likely be troublesome in the future. Once you've selected some nice fabric pieces, determine which way the stretch goes.
To do this, pull the fabric from two opposite ends. Then, release the fabric, pick up the other two sides and pull again. Whichever direction allows the fabric to stretch farther is the direction you want the width of the leg warmer to go. (The graphic above shows an example of this.)
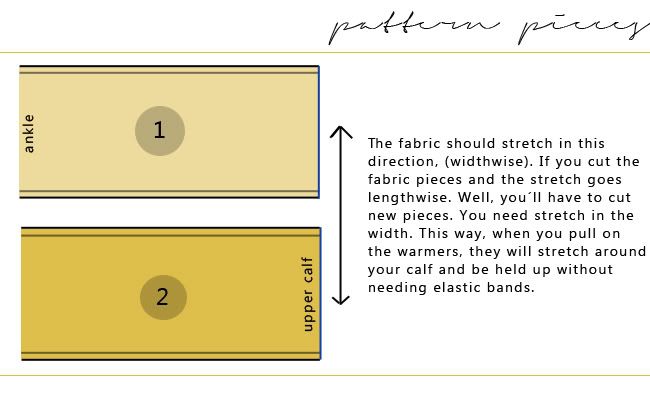
(The black lines are the measurement of the length of your leg. The gray lines are the sewing lines. The blue line indicates which side the lace is sewn.)
Because these leg warmers are made without elastic bands and rely solely on the stretching ability of the fabric, you will want to remove about 1/4" or more (off the width of each warmer) depending on how stretchy your fabric is.
*Some Advice: While I was making this project, I learned a nice little trick. Take the lace that you will be adding to the top of the warmers later, and wrap it around your leg (right beneath the knee). Let the ends of the lace overlap slightly, and that's how long the width of your warmer with be. (Take the lace, lay it over the fabric and put a pin in that spot, so you know how wide to cut.) As long as you have enough lace to circle your leg, then you shouldn't have any trouble with the width of the stretch fabric.
As far as the length of the warmers go, I purposefully added two or three inches to the bottom of my warmers. I like when leg warmers can be pulled over the heel of the foot, or scrunched up around the ankles. You can make yours any length you desire.
(*Keep in mind that my leg warmers appear tapered, but they are not. They only appear tapered because of how the fabric is sewn. If you want real tapered leg warmers, you'll have to measure the circumference of your leg every few inches from knee to ankle, adjusting the width slightly until they make a perfect fit against your leg. But I can't guarantee they will turn out perfectly.)
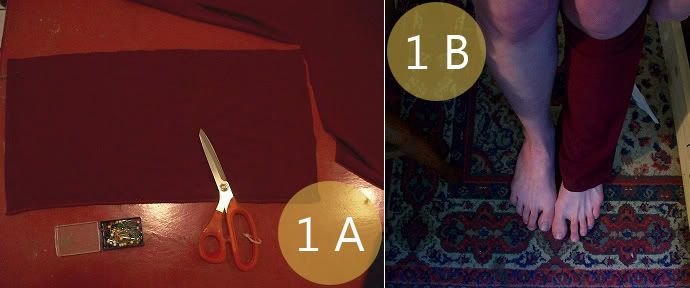
Now that you have the adjusted width and length of your warmers, measure the fabric. (Remember, the stretch should go width-wise, not length-wise.) Having a "fixed" ruler can be extremely helpful for making straight lines, such as the ones in these rectangle pieces.
*If you are a more experienced sewer, you can easily double the fabric over itself a couple times (on the fold) and cut both rectangles at once.
Before and after cutting and throughout this whole tutorial, it's very helpful to hold the warmer up against your leg (1B) and make sure that it's fitting the way you want. (Nothing is more depressing than working really hard on a project, trying to put it on and having it not fit at all. )
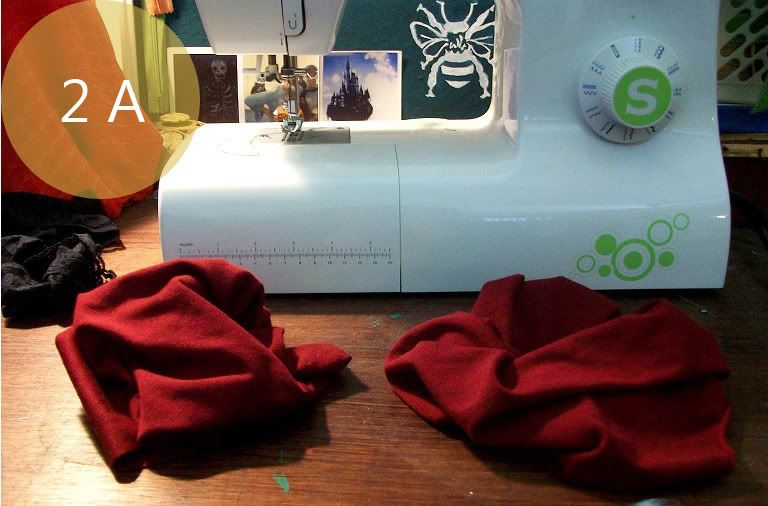
Bring your pins, lace, and your two rectangle fabric pieces to the sewing machine. Now the fun stuff starts!
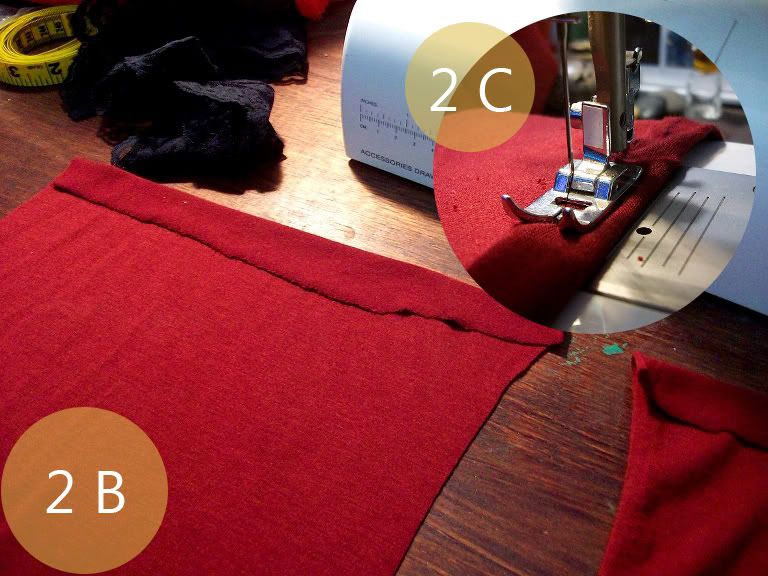
My next step is to hem the tops of both leg warmers. I typically always use from 1/4" to 1/2" allowance for hems.
I prefer to not hem the bottoms of my leg warmers because I want more stretch and flexibility. (If you desire to put hems at the bottom of each warmer, you should that at this point.)
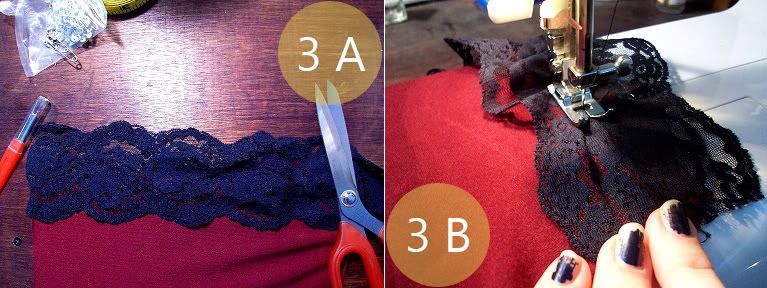
With the tops of the warmers hemmed, the next step is to add the lacy bits. Lay out the fabric rectangle, and put the lace on top of the hem line (3A). Because I'm using a very thick 2" lace, I decided to let some of the lace hang off the top of the warmers.
Pull the width of the warmer so that it is equal with the length of your lace. While sewing stretch fabric, it is very important to pull the fabric very tightly. This allows the stitches to be placed in the fabric without restricting movement and stretching.
As you can see above (3B), The fabric is pulled tightly by my fingers, while the lace is getting ruffled up. This means when the fabric is not stretched, the lace with be loose and ruffled. When the fabric is stretched, the lace will be pulled tight as well and lay flat.
*Some Advice: When I am sewing stretch fabric, I like to sew with straight stitches as the baste, and zig-zag stitches to finish a piece. With stretch fabric the zig-zag stitch is pretty important. This stitch is more flexible and allows the stretch fabric to have more movement.
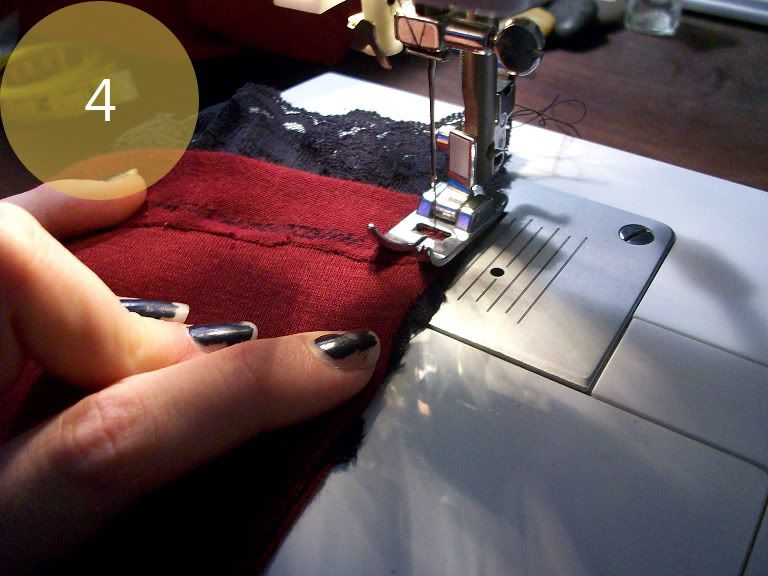
Now comes the final step. Sewing the warmers closed. You should have two rectangles which are hemmed and have lace sewn on one side. Take each warmer and turn it inside out. (You should see the previous hem you created earlier. (4)
Attempt to match up the lace and hem from both sides It is most important that the lace and hem be lined up together as best as they possibly can. (If the bottoms of your warmers are uneven, you can use scissors to cut them even at the end.)
Use a zig-zag stitch to sew each leg warmer closed. I used back-stitching every couple inches to ensure that the stretch fabric is held together at the seams. With stretch fabric, it's so easy to break a stitch when it's being used. Back-stitching and zig-zag stitches help keep the garment together even if many stitches break.
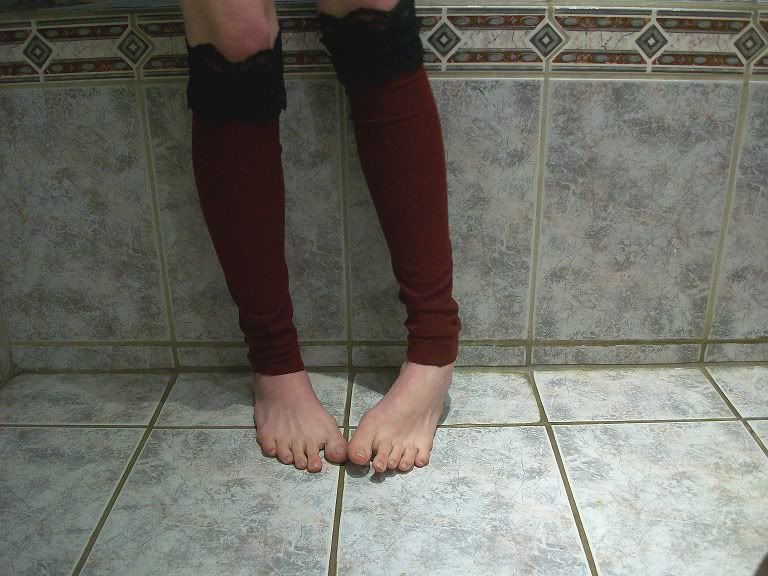
And that's it! Put on your new lacy leg warmers and style them up! There are a ton of different way to make these, different color combos, printed fabrics, white or colored laces. Infinite possibilities!
As I said earlier, I made a ton of mistakes while making these so I spent probably an hour or so working on them. Now, it would probably take me 30 minutes or less. I highly recommend making these if you need practice in sewing stretch fabric. You will most likely learn a lot and end up with some adorable leg warmers.
If you have any questions about this tutorial, I'm more than happy to help you out! Just comment here, message me on facebook, or shoot me an e-mail. If you make your own Lacy Leg Warmers, please share some photos with me!
peace & love,
kaylee
Dude, your blog layout is awesome - did you do it yourself? Really, really nice!
ReplyDeleteI´m quite pleased to hear that you like my layout! And, I did design it myself. Thank you for the compliment!
Delete