


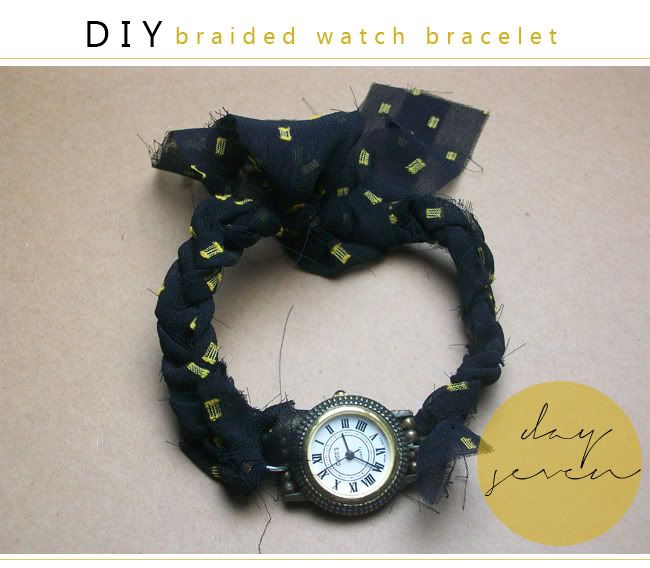
Welcome to Day Seven of DIY Week! This is a project I've been wanting to do for years. I picked up this little watch piece at a a thrift store years ago, wanted to make a bracelet piece for it. Originally, I wanted to do a Hemp bracelet attachment, but as I was searching my scrap bins, I found a piece of this beautiful fabric and inspiration struck! I'm so pleased to share this project with you, and I hope you enjoy!
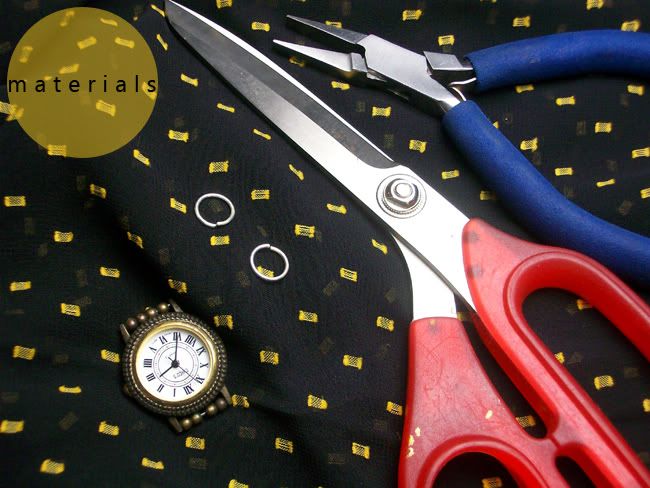
Scissors.
Pliers.
A Watch Piece. As I mentioned above, I got mine at a thrift store years and years ago. I really loved the Roman Numerals and Brass color with Filigree edges. The batteries are dead and I've never been able to replace them. (It is forever stopped at 3:35 and 56 seconds.)
Jump Rings. (Not completely neccessary.) I used them because the bars where the chain/bracelet attaches is too small for me to pass the fabric through. You may not need to use jump rings.
Fabrics. I'm using a sheer fabric with yellow embroidered rectangles. (I adore this fabric so much, it's ridiculous.) I decided to use just one type of fabric for this project. But you can use a huge variety of fabrics, or make an alternating pattern instead, if you like.
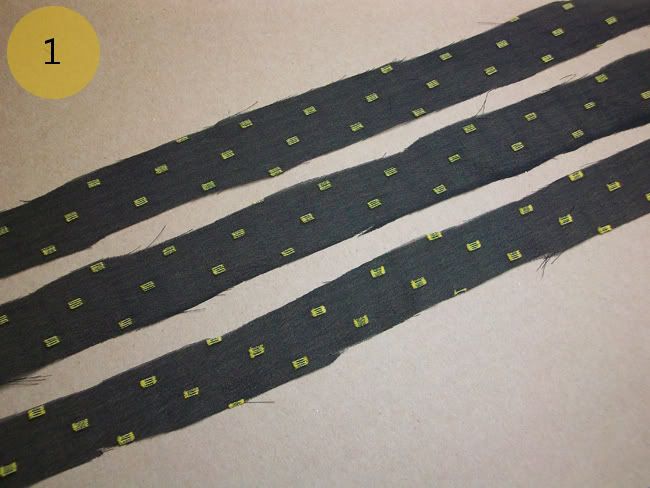
I cut three 20" strips from this fabric. Then, I folded those three strips in half and cut them right down the middle. This left me with six 10" strips, which was more than enough for this project.
Don't worry about cutting them perfectly straight, you won't notice their irregularities after they have been braided together.
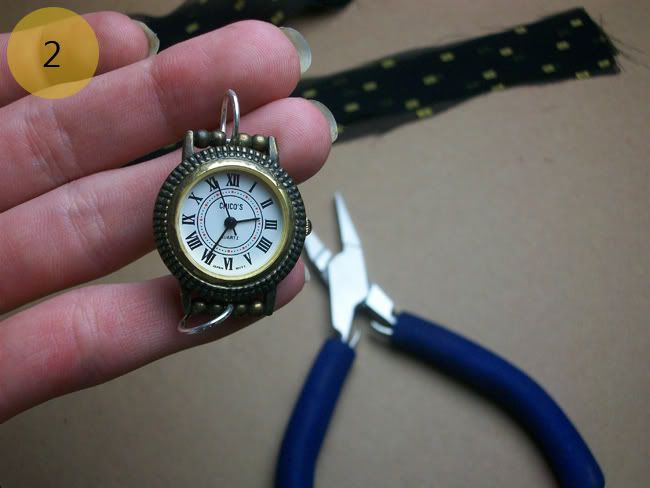
Take the watch piece and attach the jump rings (if you need them.)
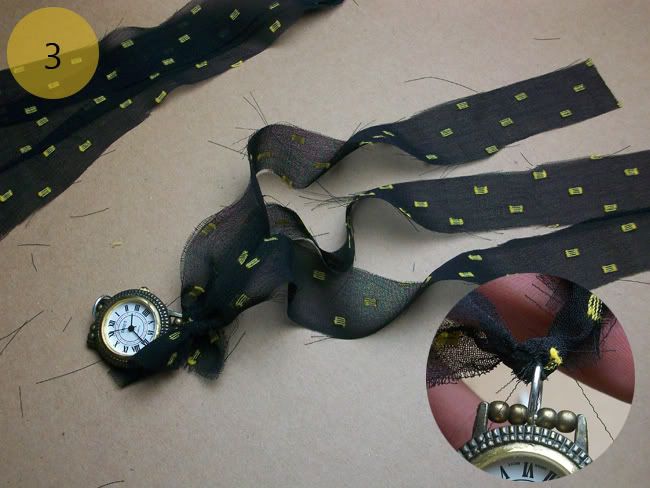
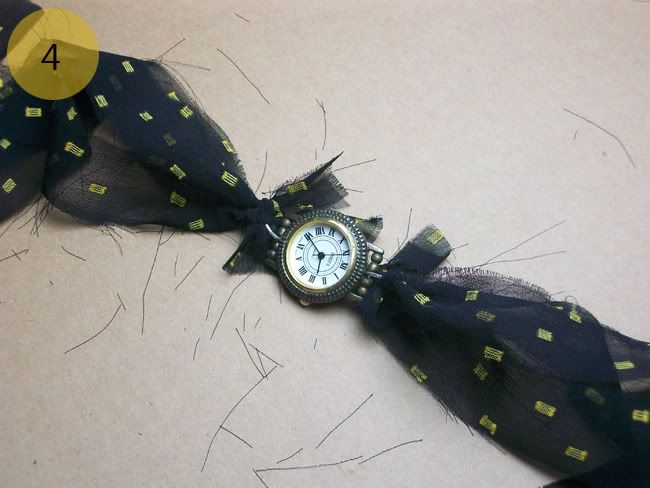
Simply tie the strips onto the jump rings, or onto the watch piece itself (3). Three strips of fabric for each side of the watch. Make sure to tie the knots as tight as possible, but don't rip the fabric.
Lay the bracelet out flat, and begin to braid each side.
(*If you don't know how to braid, do a simple search on the internet for " How To 3 String Braid". You can find videos, pictures, examples, and numerous tutorials for simple to advanced braids and plaiting.)
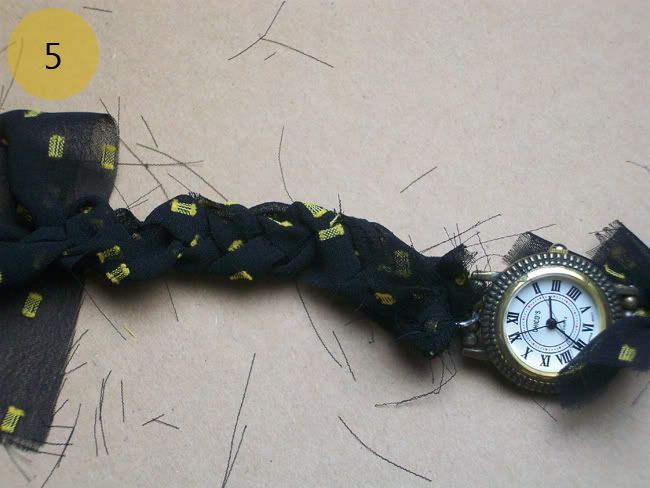
I wanted my braid loose and ruffled so I don't pull the strips too tightly while braiding. Try to keep the braid side consistent on both sides. Put it on your wrist occasionally to see how much you need to braid. Once it's long enough, Tie a knot at the end of the braid. But be careful not to mess up the pretty pattern.
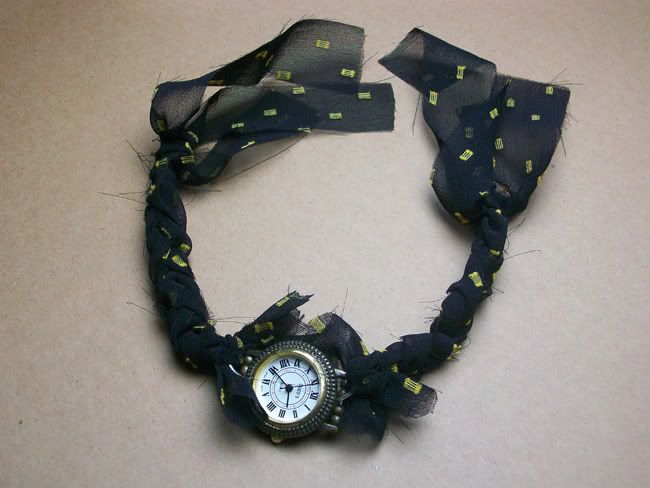
Be sure to leave two long strips at the end for tying the bracelet around your wrist. You can snip off the excess around the watch face and the ends. I prefer to leave mine ruffled and long.
You can also trim the stray threads if you desire.
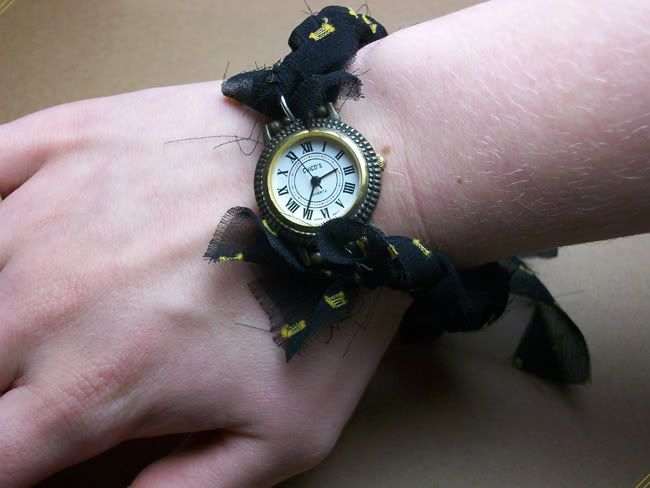
And it's complete! I really love how my bracelet turned out. It's so perfect! I'm so happy to have found a use for this watch piece that I've been keeping with me for years.
If you have any questions about this tutorial, I'm more than happy to help you out! Just comment here, message me on facebook, or shoot me an e-mail. If you make your own Braided Watch Bracelet, please share some photos with me!
Have a lovely & crafty day!
peace & love,
kaylee
No comments:
Post a Comment