


Welcome to Day Four of DIY Week! I'm back with another simple DIY project to share with you! This project is another sewing-based project, but it could easily be hand-sewn. The pretty blue fabric was one that I was using to make a dress which I botched. (Fail.) So I made the dress into a bag. (Success.) And realized I still had a long piece of the fabric leftover. Luckily, inspiration struck and I decided to make a new scarf! I hope you enjoy this project!
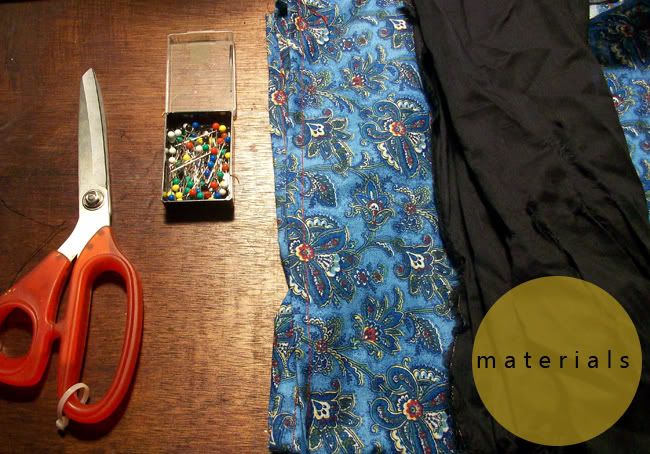
-Scissors.
-Pins.
-Sewing Machine/Thread & Needle. This project is really quick to do with a sewing machine, but it can also be done by hand-sewing.
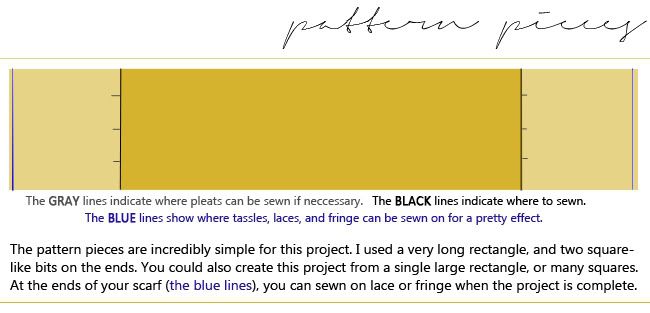
-Fabric Scraps. I'm using a long rectangle and two squarish pieces. These are some scraps I've had leftover from other sewing projects. Unlike the fabric scraps in my Boho Bunting DIY, these pieces are bigger.
You can use whatever scraps you having laying around, by trimming them all to fit together before sewing.
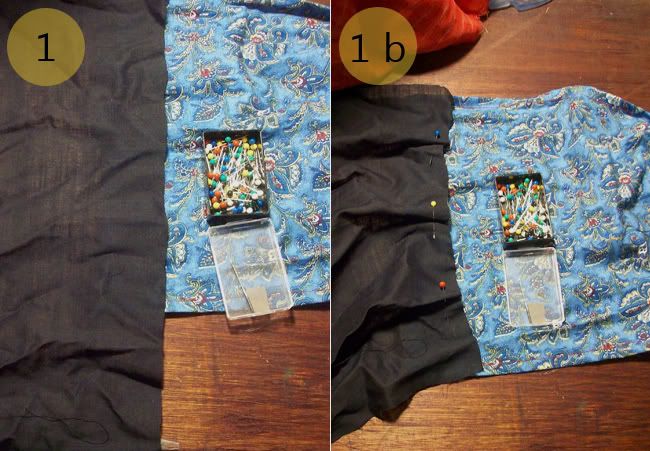
First, lay the squares/rectangles all together in a line. Match up all the seams (1).
My black pieces of fabric are wider than my rectangle. When I pinned my black fabric, I added a few pleats to make them the same width (1b). You can do this as well, or just trim the fabric pieces to be the same width.
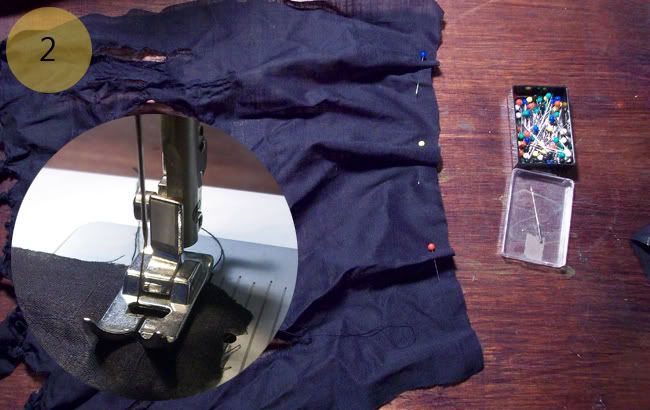
If you decided to include pleats, then I would sew those first. Take the pieces of fabric that need to be pleated, and sew them individually (2).
(If you don't need/want pleats, continue to Step 3.)
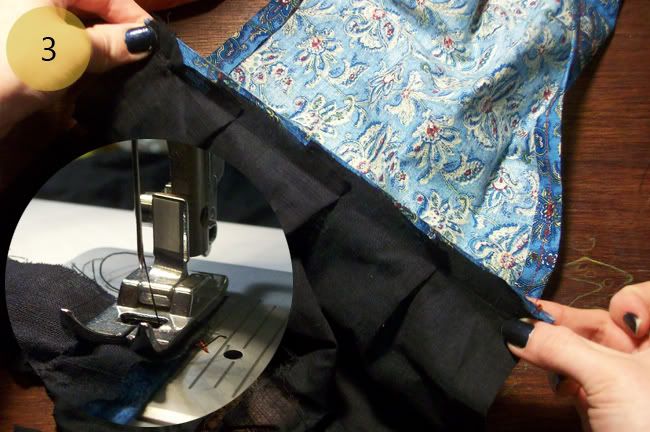
Line up the edges of the fabric again, they should match up perfectly (3). Keeping a 1/4" allowance on both pieces of fabric, put pins into the seam. (The image below shows what the scarf should look like on the inside and outside.)
Once you have the seams pinned, then sew them together!

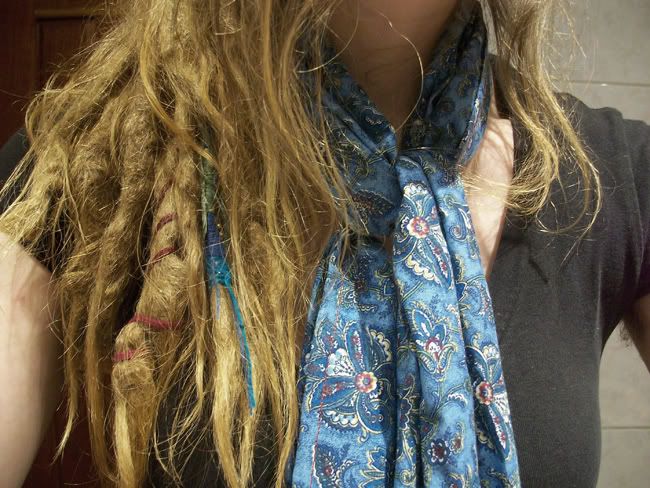
And it's finished! Now you can sew on lace, do some screen-printing, or style your new scarf. You could also fold the scarf inside out, sew it along the width, and turn it right side out. This will create a "Tube Scarf"!
This is an incredibly simple and versatile project. There are so many different things you can do with it!

If you have any questions or comments about this tutorial, feel free to comment here, message me on facebook, or shoot me an e-mail. If you make your own Scrap Scarf, please share some photos with me!
peace & love,
kaylee
No comments:
Post a Comment