


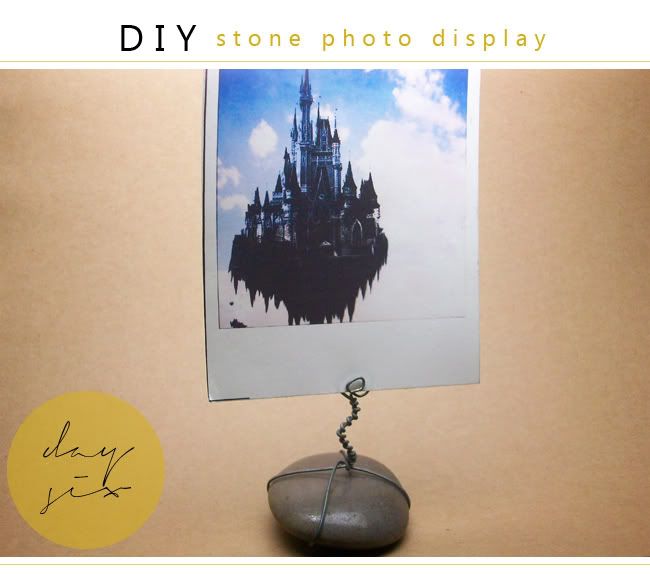
Today is Day Six of DIY Week, and I have another simple project to share with you! I adore this project because you can use any kind of materials you have. Any rocks, any wires, any photos. It's incredibly versatile, and you probably already have some of these materials lying around! Enjoy!
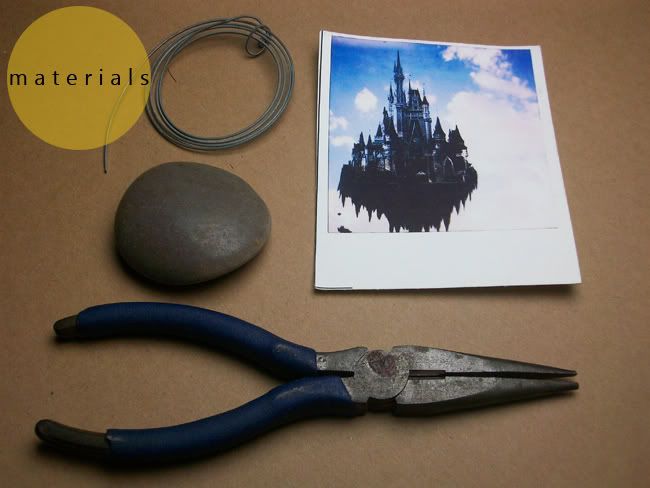
Pliers. For shaping the wire and cutting.
A Stone. I used a pretty river rock. You could use any rock, but it should be somewhat heavy.
A Photo or Drawing. I used a little polaroid collage artwork that my friend created a few years ago. It's on a thicker cardstock, so it stands upright in the photo display.
Wire. I used Steel. You could use Brass or Copper in a thick gauge.

First, bend the wire around the stone (1). Try to make the wire adjust to all the curves of the rock. Make sure to leave a bit of wire sticking straight up.
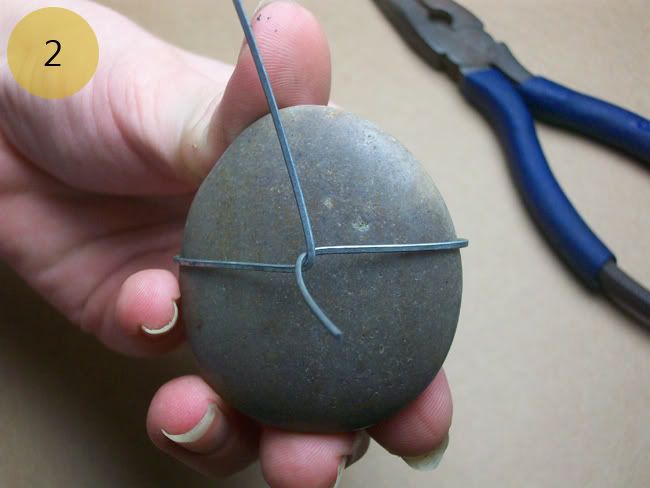
The wire should create a loop around the rock. Twist the longer wire around the short wire that is sticking straight up. (2)
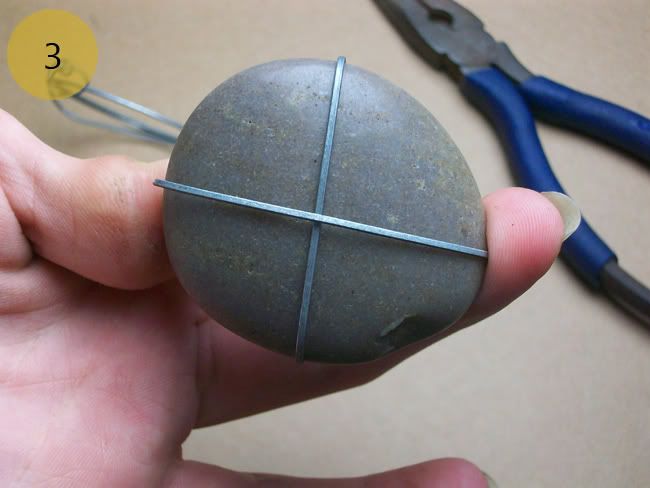
Continue wrapping the wire around the back of the rock to create another loop in the opposite direction of the first. It should look like an X on the bottom (3).
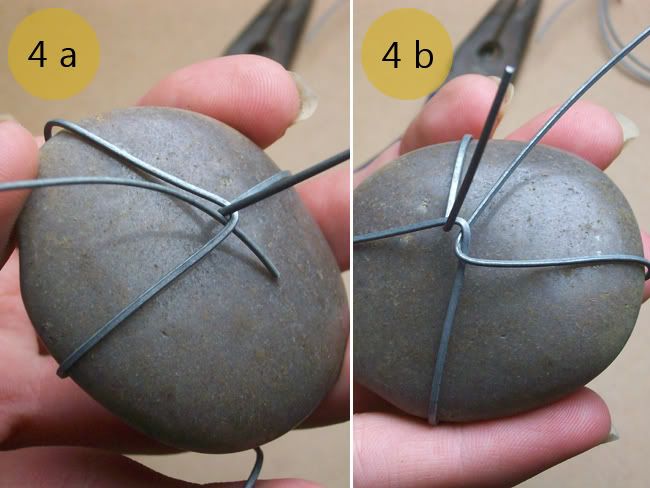
Feed the free end of the wire under the loop (4a). Pull it tightly until it's secure and snug. (4b) This is very similar to wrapping a present with string or ribbon.
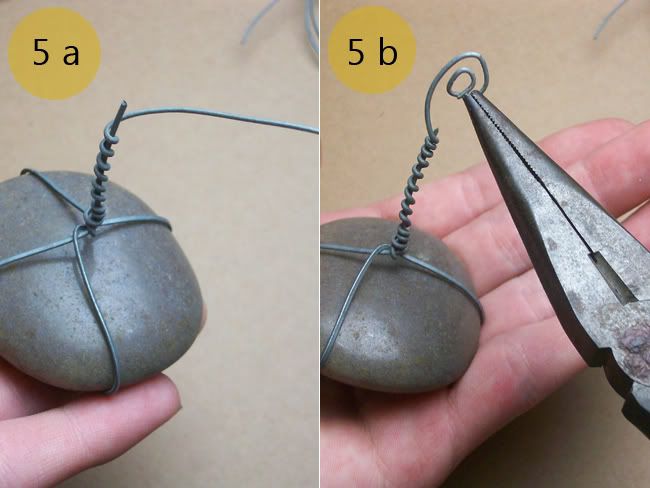
With the excess wire, begin to coil it around the piece of wire that is left sticking out the top (5a).
Finish it off with a small coil on the top to hold the photo/drawing (5b).
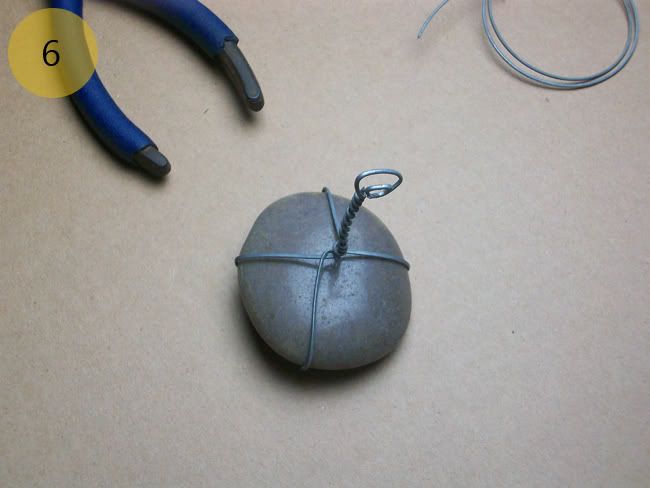
Pull the coil apart a bit so that your photo will fit inside comfortably and not be pinched too tightly or too softly.
If the stand is a little lop-sided, use your pliers to make the wire stick straight up.
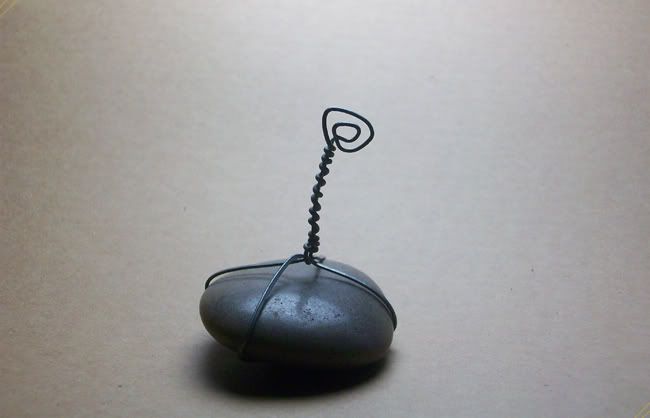
And it's finished! The best part about this project is that you can do anything you like. The wire-wrapping doesn't have to be just like mine. You can just follow your gut and wrap it around the stone a bunch of times until it's snug and tightly secured.
I can't wait to get some photos printed and arrange them in a bunch of these wire-wrapped stones. They would look great in varying heights, different shapes and colors of rocks and metals. You could also replace the photo with an array of pretty feathers! There are a ton of possibilities!
If you have any questions about this tutorial, I'm more than happy to help you out! Just comment here, message me on facebook, or shoot me an e-mail. If you make your own Wire-Wrapped Stone Photo Display, please share some photos with me!
peace & love,
kaylee
No comments:
Post a Comment