(In honor of International Earth Day & The Vernal Equinox on March 20th, I'm hosting a DIY Week on my blog. You can anticipate the normal programmed blog schedule, but from the 19th to the 25th of March 2012, I'll be sharing one new DIY tutorial each day. All of these projects are inspired by the re-purposing and re-cycling materials for the benefits of the Earth and preventing more things from ending up in the garbage. Click here to see more DIY tutorials by Kaylee.)
It's
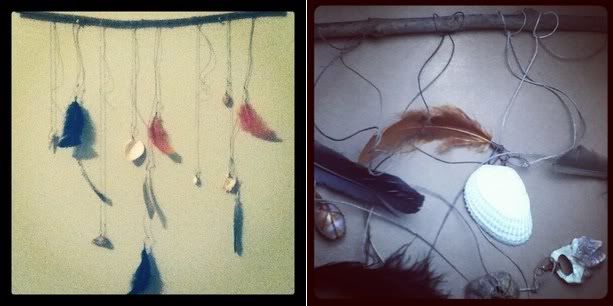
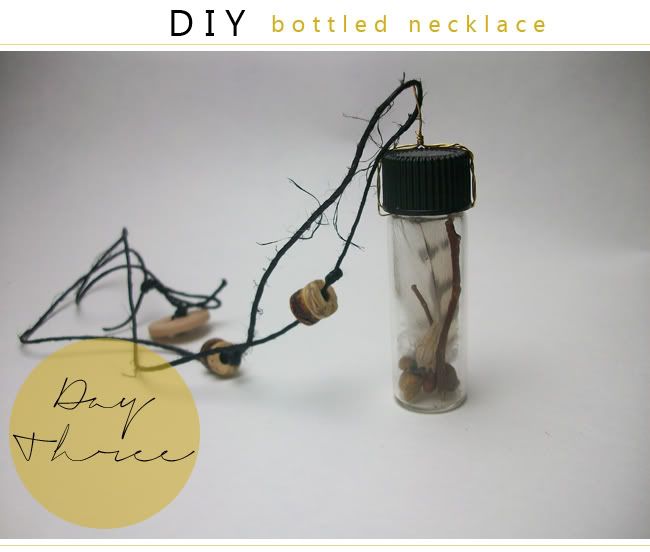
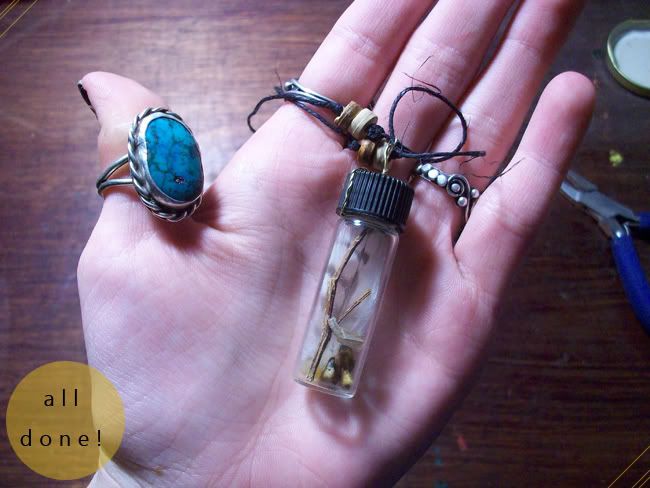
Day Three of DIY Week, and I'm so excited to share this super simple and fun DIY with you! I have always wanted a necklace holding a little bottle with some precious items inside. I thought it would be fun to put some special objects inside. As I was looking around my studio, I found an amazing assortment of tiny found objects to put inside! I love the way this necklace turned out and I hope you enjoy this project as much as I do!
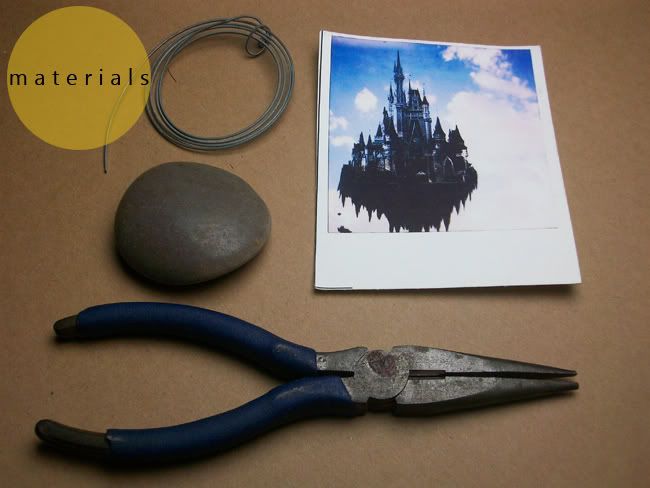
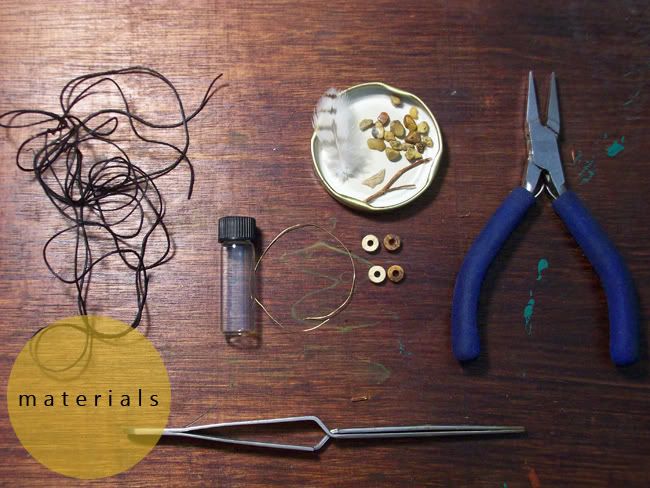 -A Small Bottle.
 It could be any shape, size, or color. Just be sure that the opening of the bottle will fit the objects you want to put inside.
-
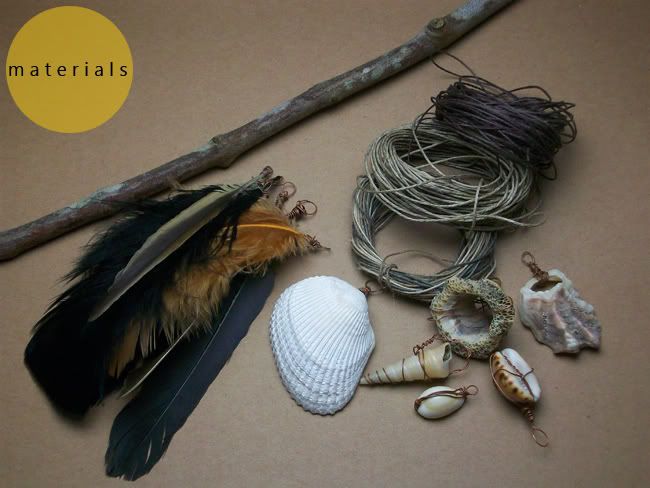
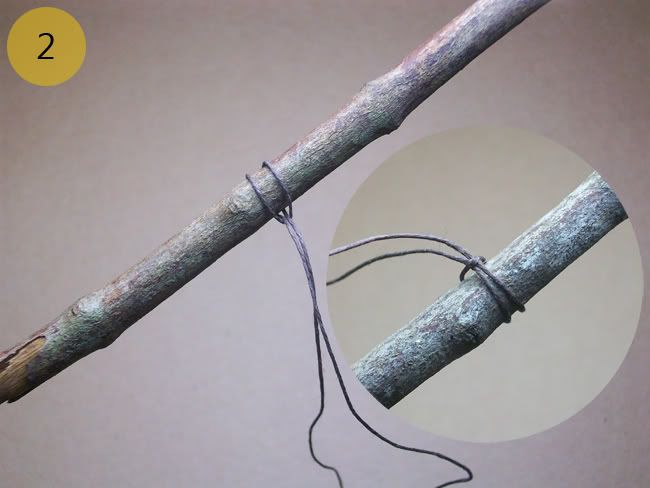
String. I'm using black Hemp.
-
A Bit of Wire. I'm using a thin gauge brass wire.
-
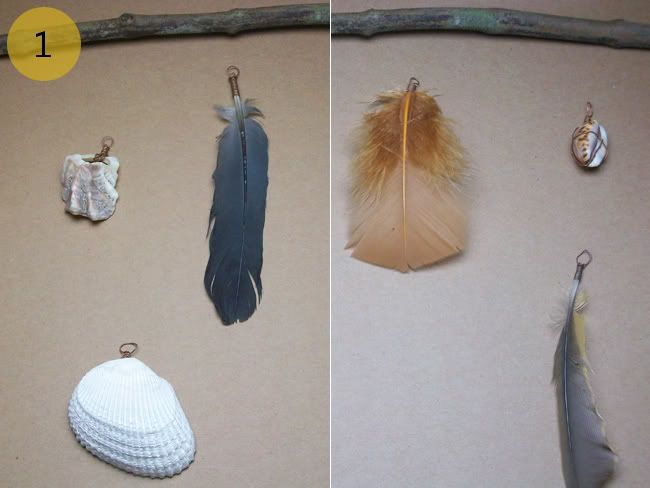
Small Decorations. I decided to use natural materials to fill my bottle. I wanted to make this a very special necklace with my own personal meaning & symbolism. A feather, which I found when I was having a hard day. A tiny cocoon, which reminds me of re-birth, renewal, and growth. A tiny twig from my favorite tree. Some pebbles, from my turtles' pond, because I love my turtles. You can use whatever materials you like to fill your bottle.
-
Beads. I decided to use some multi-color wood beads.
-
Pliers. (Not completely neccessary.)
-
Tweezers.
-
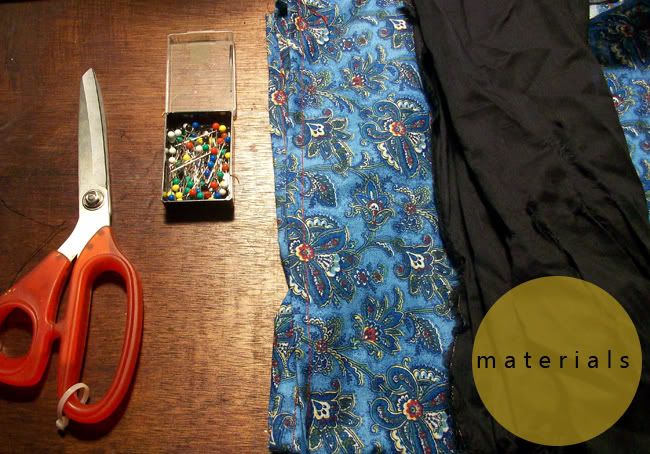
Scissors.
-
A Button. (Optional.)
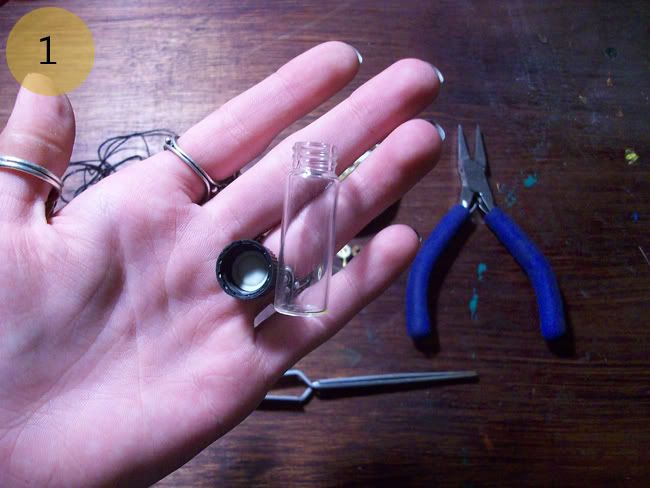
The first step is to open your little bottle, clean it inside and outside. It's probably going to be tricky to clean the inside unless you have a tiny toothbrush or high-pressure hot water. Just do your best to get it as clean as possible. Once it's clean, carefully dry it off or wait for it to air-dry.
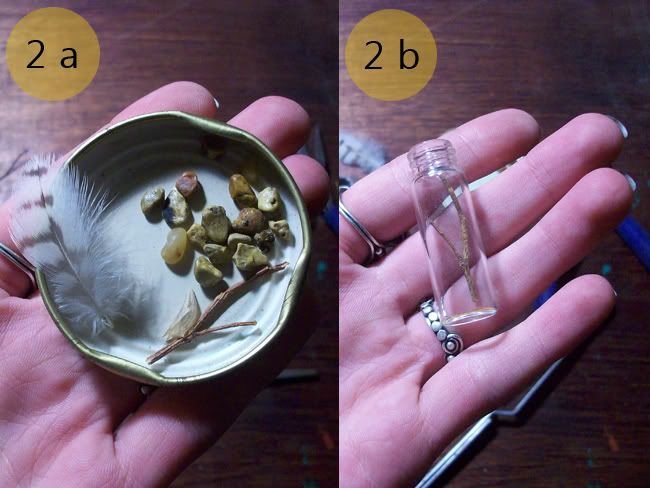
Next, evaluate all of your materials. If you're using hard and soft materials, as I am, then I would suggest putting the heavier/stronger/stiffer materials in first.
I put in my twig first, because I needed to make sure that my bottle would be tall enough.
After sliding the twig inside the little bottle, I chose 6 or 7 tiny pebbles to add. I chose my favorite colors, textures, and shapes. (Even some tiny quartz pebbles went into my bottle.)
This method worked perfectly for me. After the twig is placed, the rocks fall in all around it and kind of "lock it" into place.
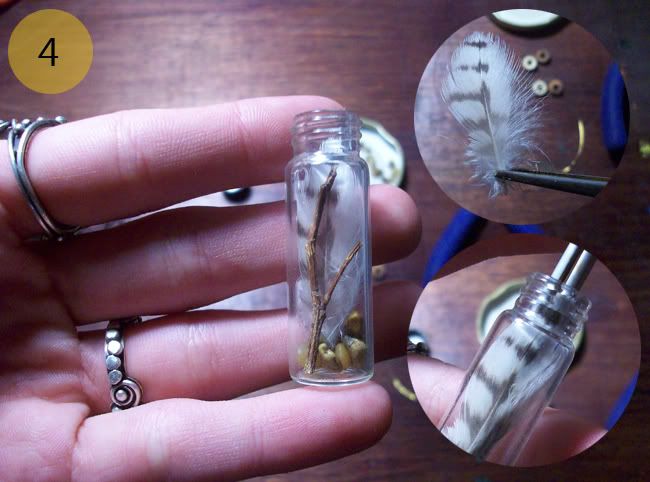
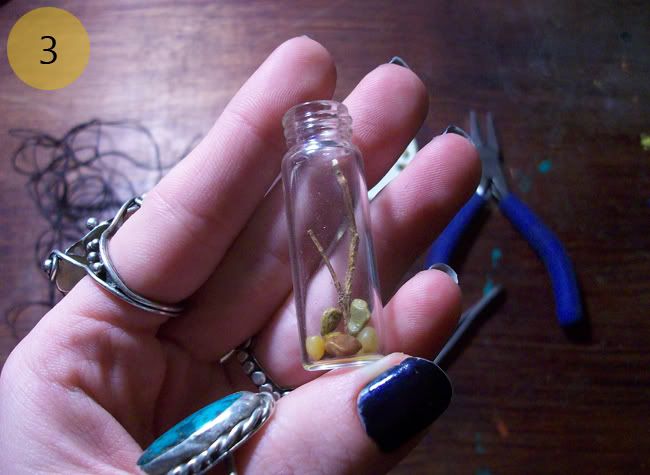
Next, I decided to add the feather. After I added the feather inside the bottle, I moved it around gently with the tweezers until it sat exactly where I wanted it.
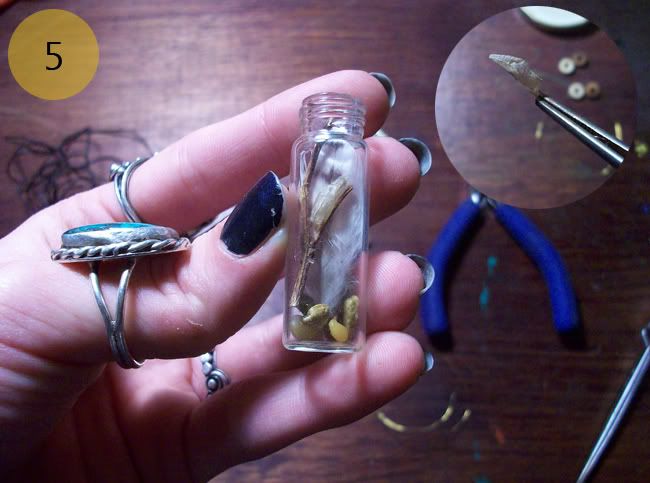
I've had this little cocoon for such a long time that it is very fragile, and is the last thing to be added to the bottle.
(
*If I were doing this project again, I would probably re-think the pairing of the small stones and the super fragile cocoon. I'm afraid that the stones will break the cocoon someday.)
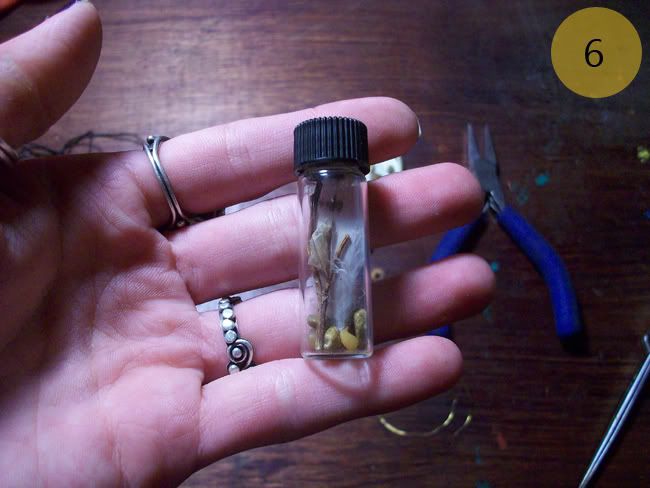
Make sure everything is placed just how you want it, and close the bottle tightly.
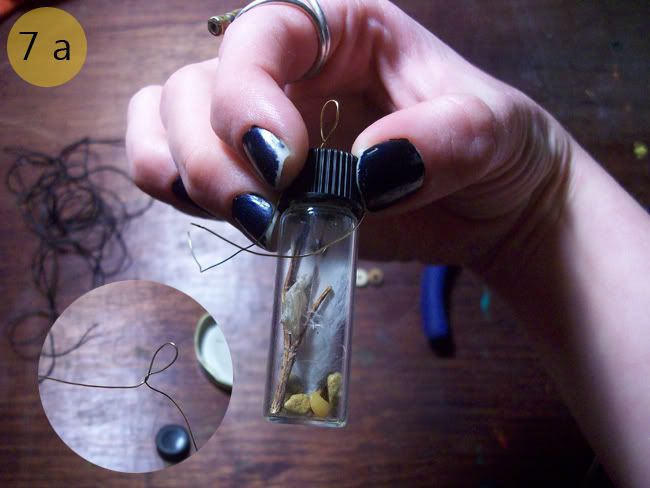
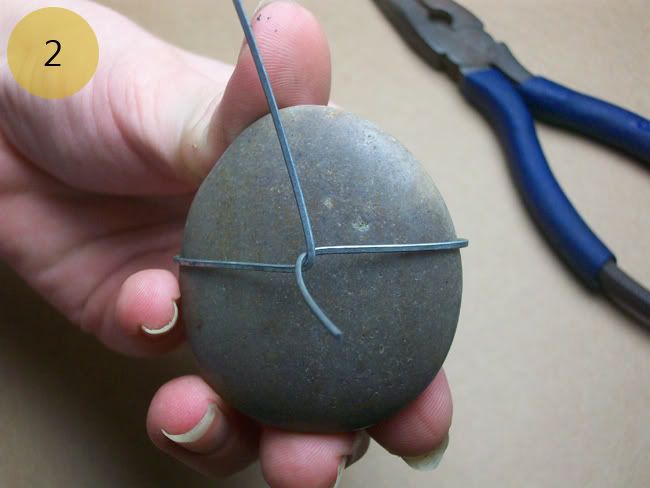
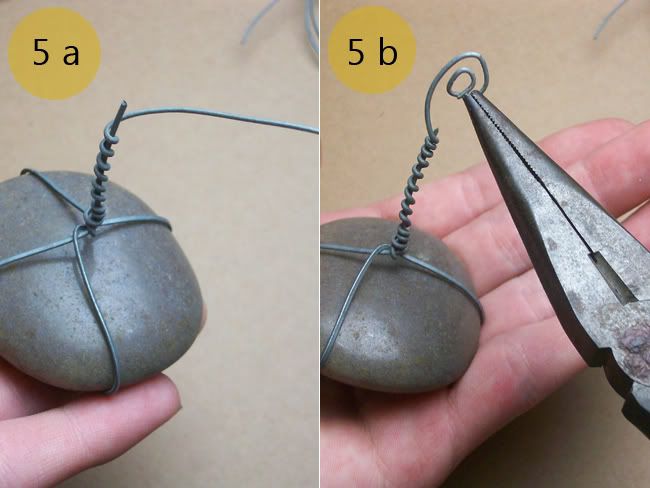
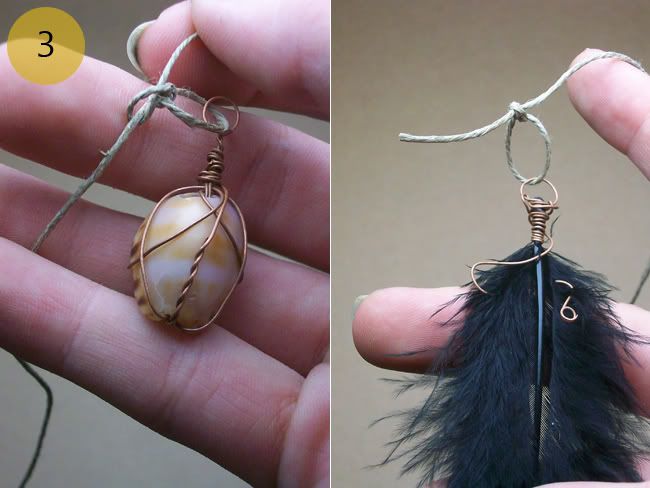
Next, make a small hoop in the center of a piece of wire. Place the hoop on the top of the bottle-cap, and bend the ends of the wire down-wards (7a).
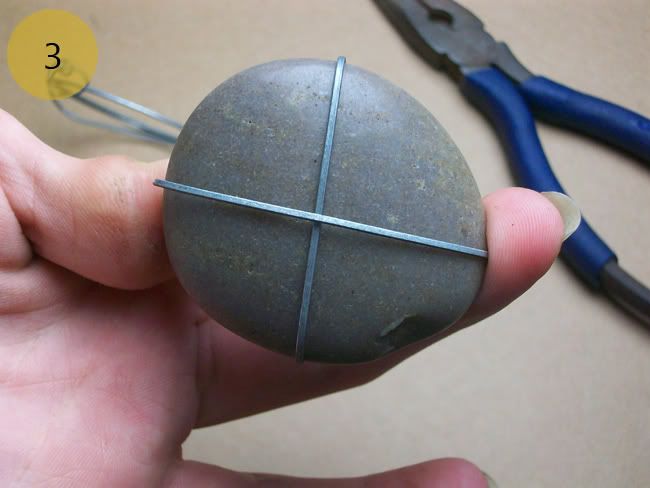
With the ends of the wire bent downwards, hold onto the sides of the cap. Pull the wires in opposite directions beneath the cap. One wire crossing over the front, and one crossing the back.
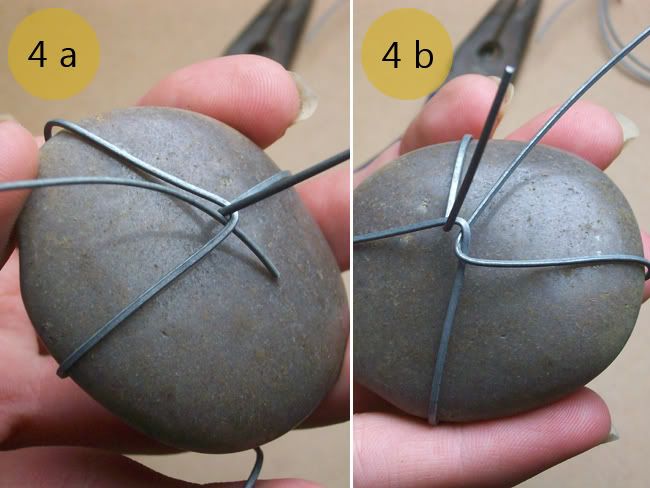
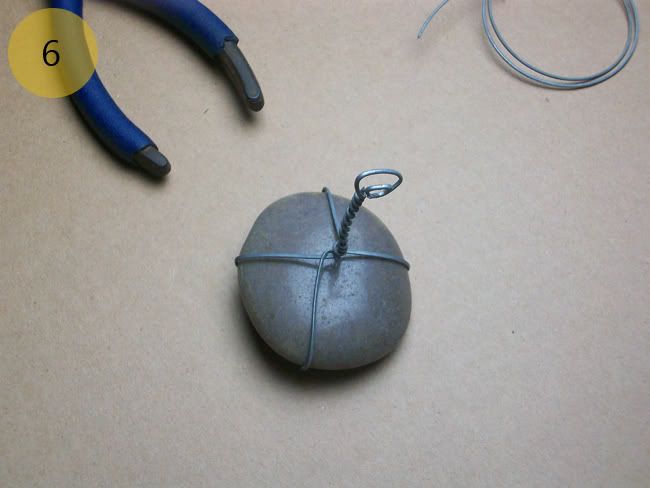
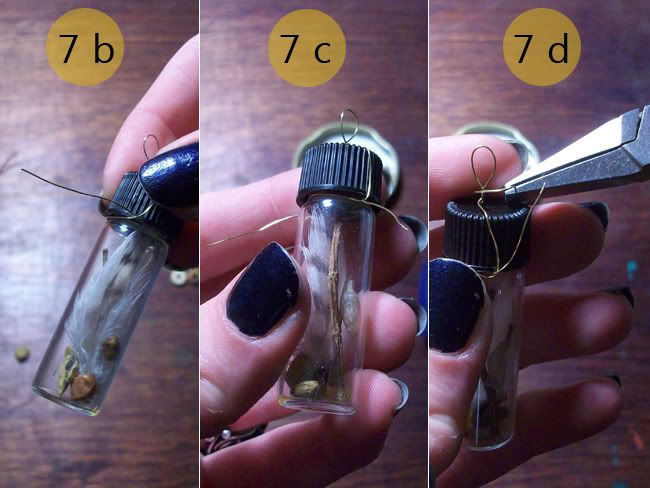
Slip the ends of the wires through the loops that sit on the sides of the cap. (7b) Then, take the ends of the wires and pull them in the opposite directions (7c). Finally, continue wrapping the wires together up to the top of the hoop, until all of the wire is used (7d).
*Some Advice: It isn't important to do this part exactly as I did. As long as the wire hoop is strong, and holds the bottle tightly (right beneath the cap), then everything should be fine. Also, you can use a longer piece of wire and doing extra wrapping to make sure the bottle is secure.
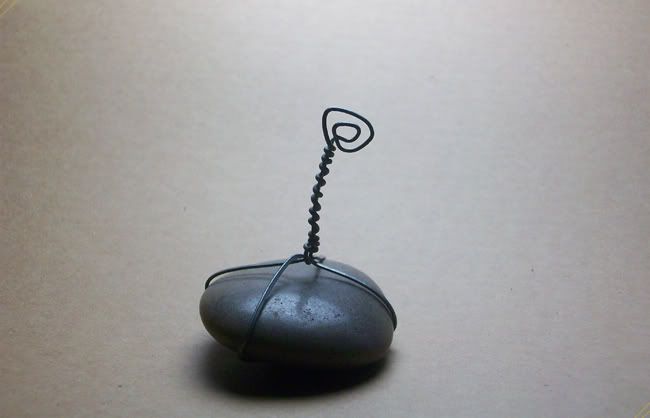
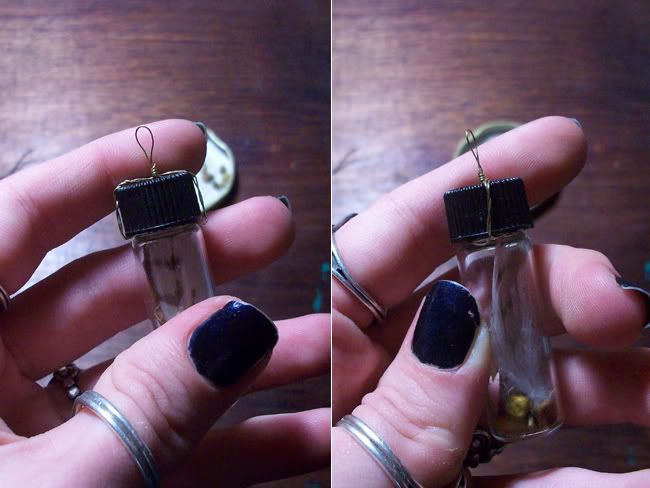
Here is an example of my finished hoop (below).
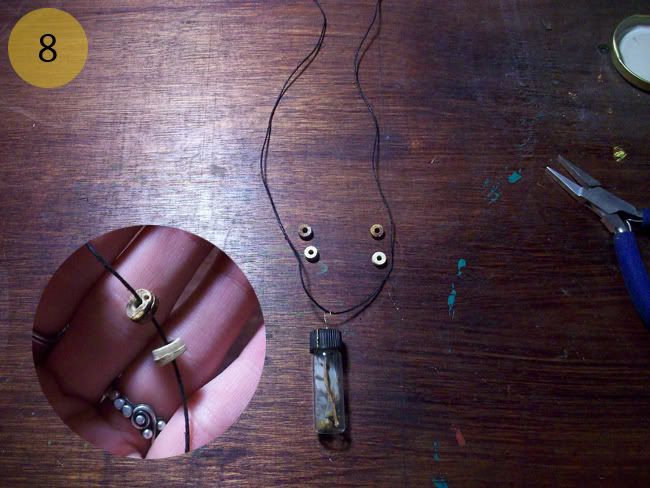
Slip your bottle onto the string, and decide where you would like your beads. Tie knots in the string and slip the beads on.
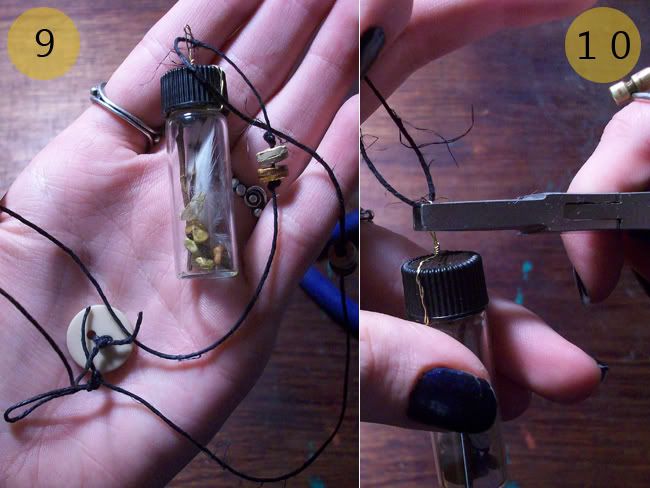
If your necklace is short, then you can tie a loop and button onto the ends of the string (9).
My wire hoop was too wide for my string, so I used pliers to flatten the hoop a bit (10).
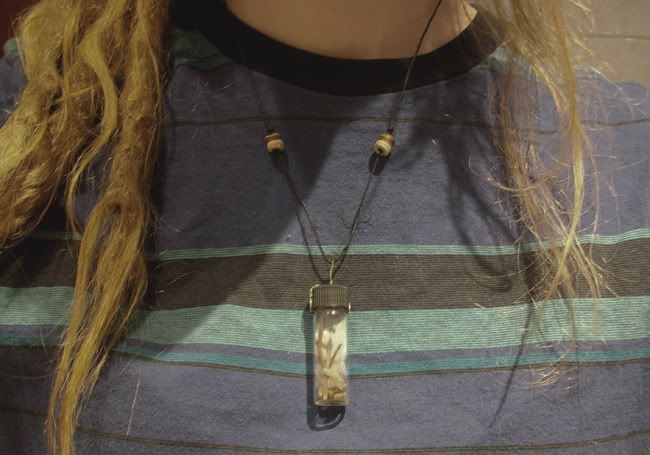
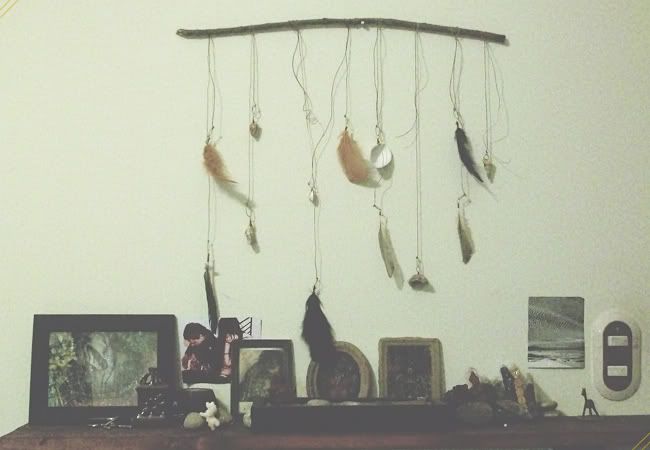
And that's how you can make your own bottled necklace! I enjoyed making this necklace so much that I want to make a few others. I thought it would be fun to put small seashells, stones, and little messages into the bottles.
I hope you enjoyed this tutorial!
If you have any questions about this tutorial, I'm more than happy to help you out! Just comment here, message me on facebook, or shoot me an e-mail. If you make your own Bottled Necklace, please share some photos with me!
peace & love,
kaylee