
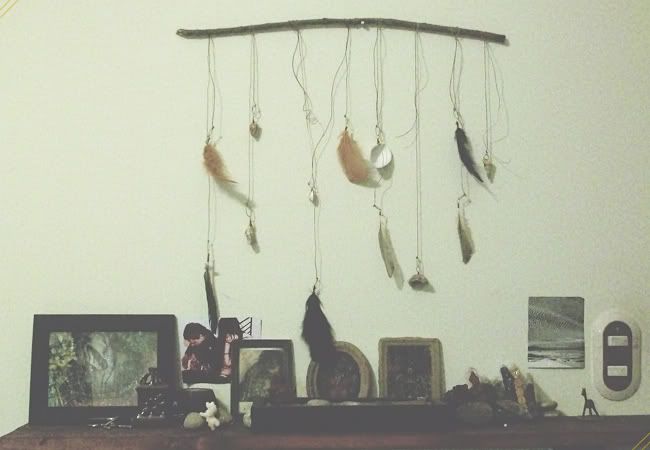
Welcome to Day Five of DIY Week, and I'm happy to bring you this easy project. It took me less than half an hour to make and I love the way it turned out! This wall hanging uses many found objects to make a simple piece of sculptural wall art. Mine is now hanging right above me while I sleep, it brings me so much happiness! I hope you enjoy this simple project!
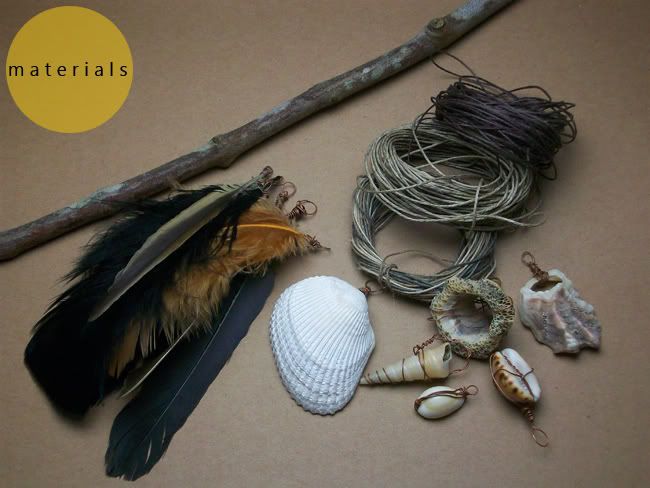
A Branch/Twig/Stick. Make sure it's strong enough and big enough for the wall space you want to fill. (Also, if you live somewhere wet/humid, I would let the stick air out before crafting with it.)
Decorations. I decided to use feathers and shells that I've found. You can use whatever materials you like! Tassels, lace, anything you like. (My pieces are wire-wrapped, but you can do this project without the wire-wrapping.)
Strings. I'm using Hemp Threads in Natural, Brown, and Multi-Colored Shades.
Scissors.
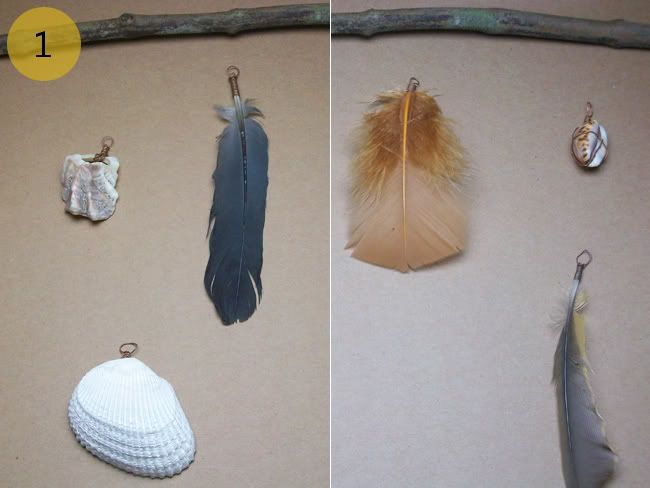
Lay everything out and play with the alignment. I moved my decorations around almost a dozen times before settling on something.
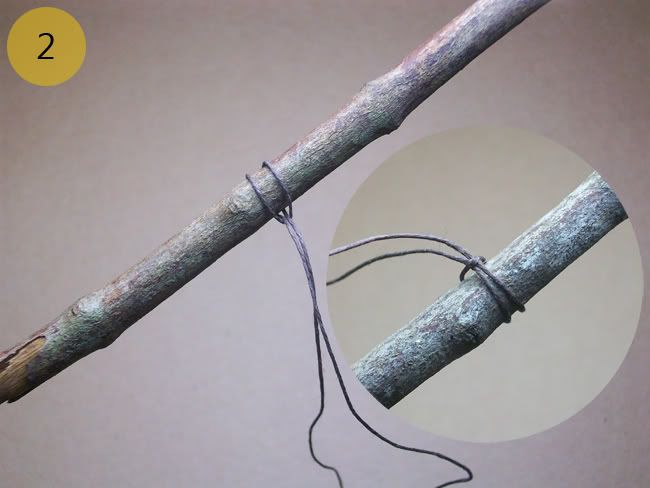
Tie a simple knot onto the stick. If you're familiar with Macrame techniques, the knot I'm using is a "Lark's Head". I used this knot because it's super simple to un-do and re-attach.
You can use a more permanent knot if you like.
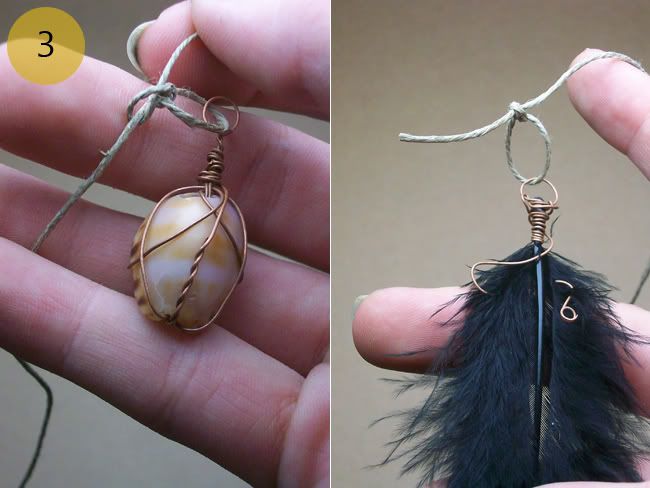
Tie on all of your dangling objects. Try to vary the length and arrangment of the objects to create more visual interest. Hang the stick on a nail in the wall and you're done!
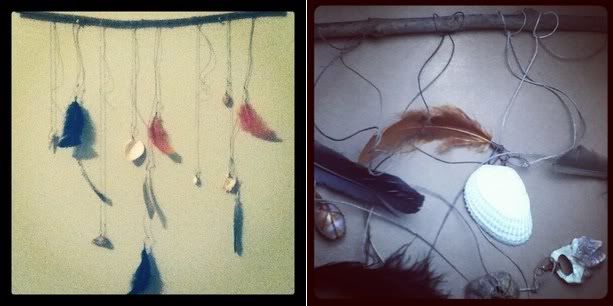
I've been looking forward to making this project for a long time. It's even one of the Projects in my 18 Projects Book! (But I'm making another one for the 18 Projects series soon.)
I eventually decided to hang it above my bed, so I can admire it all the time. I'm so happy to see my beautiful shells and feathers serving a better purpose than sitting in boxes in my studio.
If you have any questions or comments about this tutorial, feel free to comment here, message me on facebook, or shoot me an e-mail. If you make your own Feather Wall Hanging, please share some photos with me!
peace & love,
kaylee


No comments:
Post a Comment